

Most websites lose 30-40% of their potential traffic by setting up Google Search Console incorrectly, missing the hidden settings that actually influence rankings. While guides show basic setup steps, they skip the critical optimization strategies professionals use. You’re about to learn how to configure GSC to leverage click-through rates as a ranking signal, optimize Core Web Vitals for algorithm boosts, and access advanced features that transform search visibility.
This isn’t just a setup. It’s the configuration that separates thriving websites from invisible ones.
What is Google Search Console and Why Your Business Needs It Now
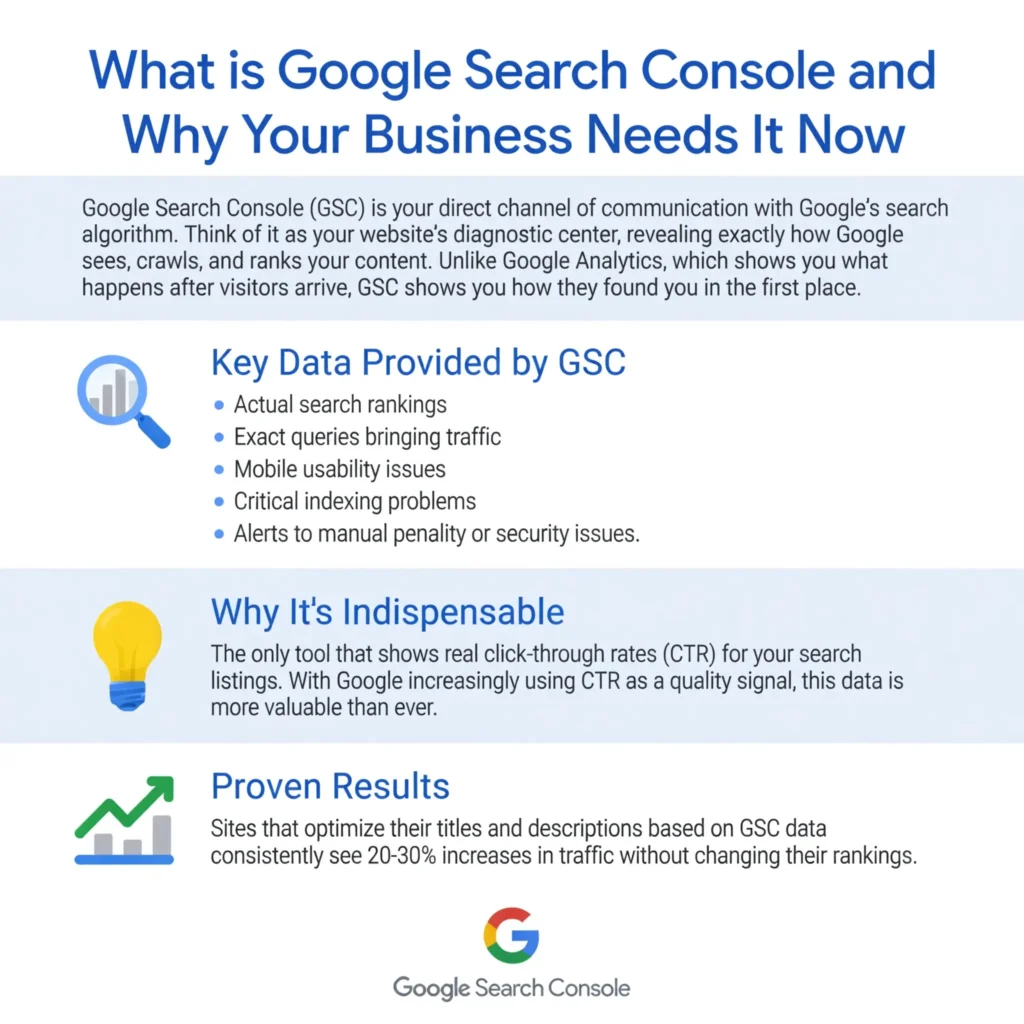
Google Search Console (GSC) is your direct channel of communication with Google’s search algorithm. Think of it as your website’s diagnostic center, revealing exactly how Google sees, crawls, and ranks your content. Unlike Google Analytics, which shows you what happens after visitors arrive, GSC shows you how they found you in the first place.
The platform provides invaluable data, including your actual search rankings, the exact queries bringing traffic, mobile usability issues, and critical indexing problems that could be tanking your visibility. Most importantly, it alerts you to manual penalties or security issues before they destroy your organic traffic.
Here’s what makes GSC indispensable: it’s the only tool that shows you real click-through rates for your search listings. With Google increasingly using CTR as a quality signal, this data has become more valuable than ever. Sites that optimize their titles and descriptions based on GSC data consistently see 20-30% increases in traffic without changing their rankings.
Before You Start: Essential Prerequisites for GSC Setup
Getting your prerequisites right saves hours of troubleshooting later. First, you’ll need a Google Account. While any Google Account works, using the same account as your Google Analytics simplifies future integrations and verification processes.
Next, understand the two property types available:
Domain Properties tracks all variations of your domain (www, non-www, http, https, and all subdomains) in a single unified report. This is the recommended approach for most websites.
URL-Prefix Properties only track one specific URL format. Choose this if you need to monitor a particular subfolder or can’t access DNS settings for verification.
You’ll also need administrative access to either your domain’s DNS records, website files via FTP, or the ability to edit your site’s HTML. Without at least one of these, verification becomes impossible.
Step-by-Step Google Search Console Setup Process
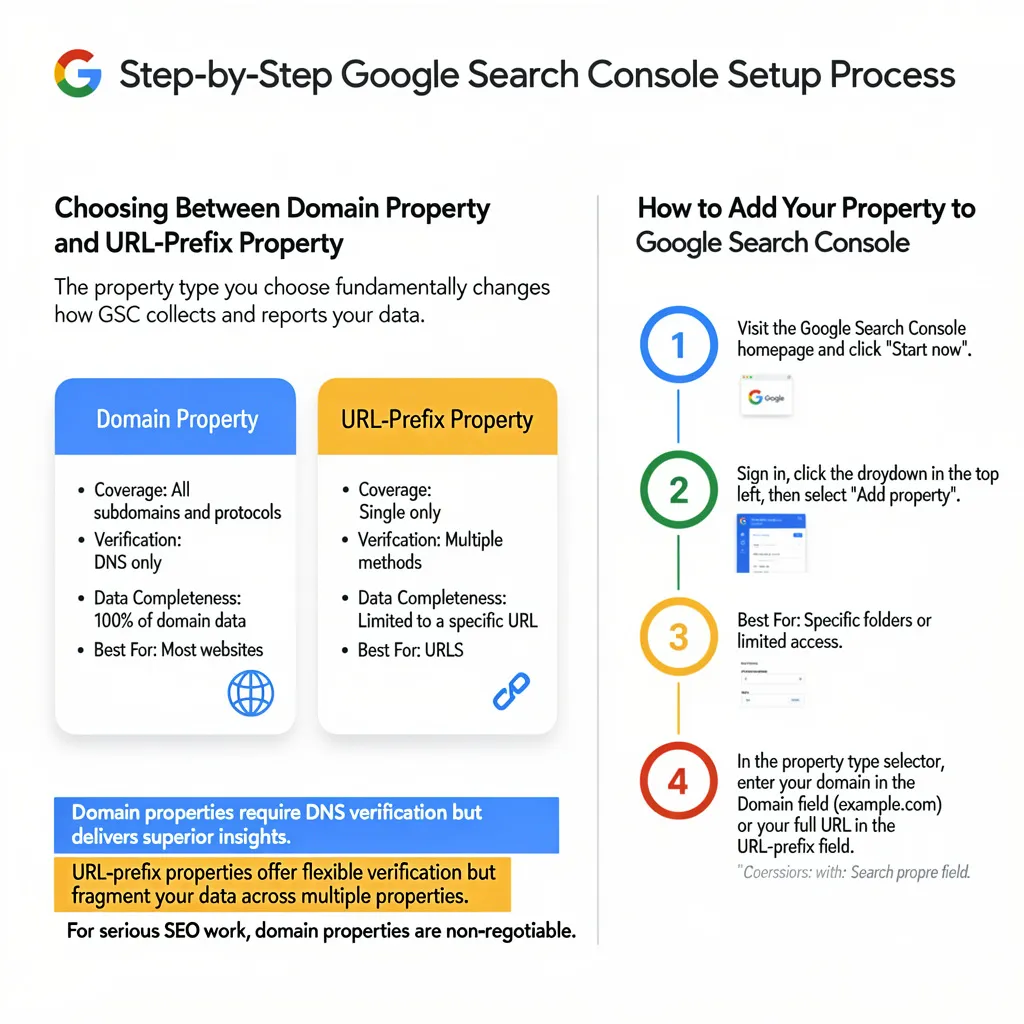
Choosing Between Domain Property and URL-Prefix Property
The property type you choose fundamentally changes how GSC collects and reports your data. Domain properties provide the complete picture of your site’s performance across all protocols and subdomains. This comprehensive view is crucial for understanding your true search presence.
| Feature | Domain Property | URL-Prefix Property |
| Coverage | All subdomains and protocols | Single URL format only |
| Verification | DNS only | Multiple methods available |
| Data Completeness | 100% of domain data | Limited to a specific URL |
| Best For | Most websites | Specific folders or limited access |
Domain properties require DNS verification but deliver superior insights. URL-prefix properties offer flexibility in verification methods, but fragment your data across multiple properties. For serious SEO work, domain properties are non-negotiable.
How to Add Your Property to Google Search Console
Start by visiting the Google Search Console homepage and clicking “Start now.” After signing in, look for the dropdown arrow in the top left corner and select “Add property.”
When the property type selector appears, enter your domain name in the Domain field (example.com without any protocols) or your full URL in the URL-prefix field. Domain property users should enter just the root domain without www or https.
The system immediately prompts you to verify your property after adding it. This verification proves you own or manage the website, preventing unauthorized access to sensitive search data.
Common mistakes to avoid during this process include adding unnecessary multiple variations of the same domain, choosing a URL prefix when you have DNS access, and forgetting to maintain verification requirements after initial setup.
Mastering DNS Verification: The Professional Approach
Understanding DNS TXT Record Verification
DNS verification stands as the most reliable and permanent verification method available. When you select a domain property, Google generates a unique TXT record that serves as a digital signature, proving your ownership via your domain’s DNS configuration.
This TXT record contains a verification code unique to your Google Account and domain combination. Once added to your DNS, propagation typically takes 10 minutes to 48 hours, though most verifications complete within 2-3 hours. The beauty of DNS verification lies in its persistence. Unlike other methods, it remains valid even if you redesign your website or change hosting providers.
The verification string looks something like: google-site-verification=ABC123xyz789. This code remains constant for your property, so you never need to update it unless you remove and re-add the property.
DNS Verification by Popular Providers
Each domain registrar has slightly different interfaces, but the core process remains consistent. For GoDaddy, navigate to DNS Management, click “Add,” select TXT record type, leave the Host field blank or enter “@”, paste your verification code in the Value field, and save.
Cloudflare users should access their DNS settings, click “Add record,” choose TXT as the record type, enter “@” for Name, paste the verification string for Content, and leave Proxy status set to DNS only. The verification typically completes within minutes due to Cloudflare’s infrastructure.
Namecheap requires you to access Advanced DNS, click “Add New Record,” select TXT Record, enter “@” for Host, enter your verification code in Value, and save. Their propagation usually completes within 30 minutes.
Remember that existing TXT records won’t interfere with verification. You can have multiple TXT records for different services without conflict.
Alternative Verification Methods and When to Use Them
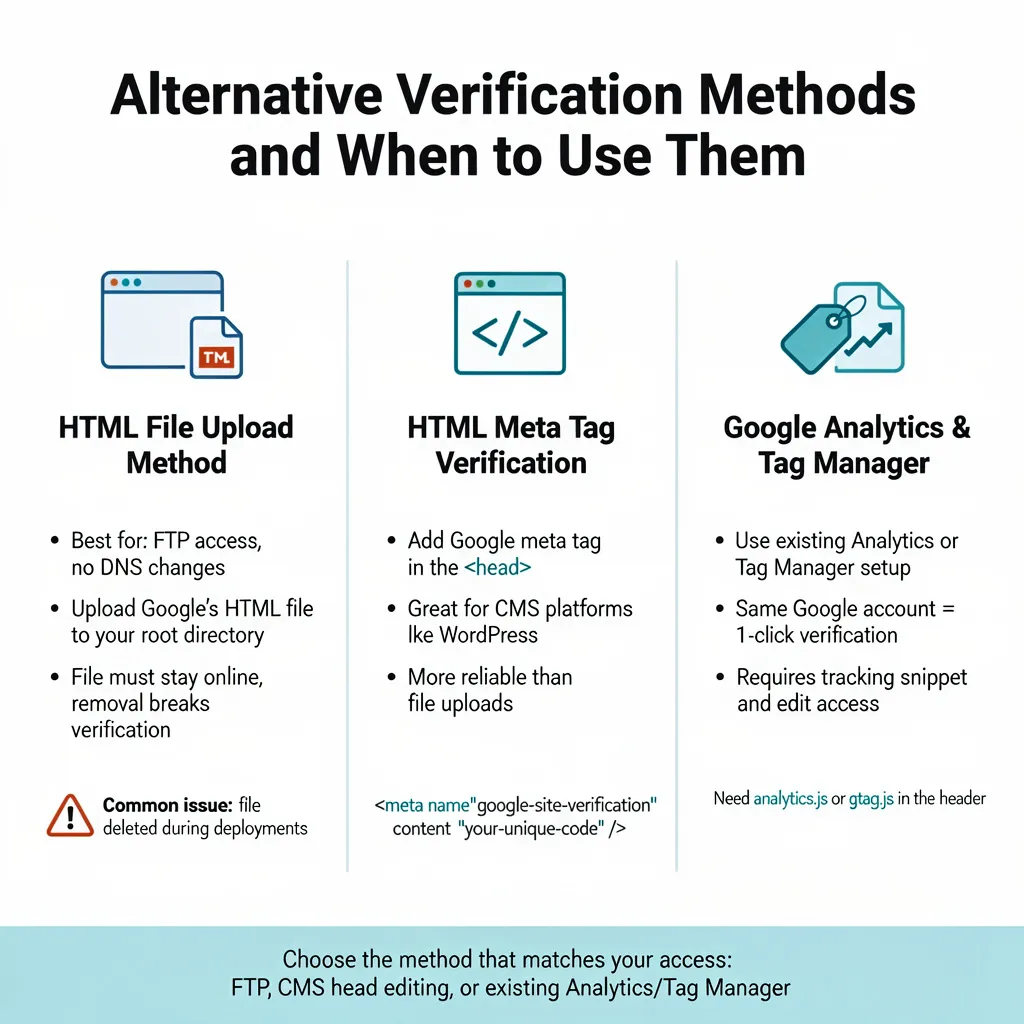
HTML File Upload Method
HTML file verification works well when you have FTP access, but can’t modify DNS records. Google provides a uniquely named HTML file that you upload to your website’s root directory. The file must remain accessible at the exact URL Google specifies.
This method verifies quickly, often within minutes of upload. However, you must ensure the file remains permanently in place. Deleting it during site maintenance or migrations will break verification. Many developers accidentally remove these files during deployments, losing access to their GSC data.
HTML Meta Tag Verification
Meta tag verification involves adding a single line of code to your homepage’s <head> section. This method works excellently for CMS platforms where you can edit header code but lack file upload access.
WordPress users can add the meta tag through SEO plugins like Yoast or directly via theme customizers. The tag looks like: <meta name=”google-site-verification” content=”your-unique-code” />. The key advantage is that theme updates rarely remove custom meta tags, making this more reliable than file uploads.
Google Analytics and Tag Manager Verification
When Google Analytics or Tag Manager is configured using the same Google account, verification occurs immediately. GSC finds these tools and lets you verify with one click. You need the analytics.js or gtag.js snippet in your site’s header. You also need edit rights on the Google Analytics property.
Post-Setup Configuration for Maximum Impact
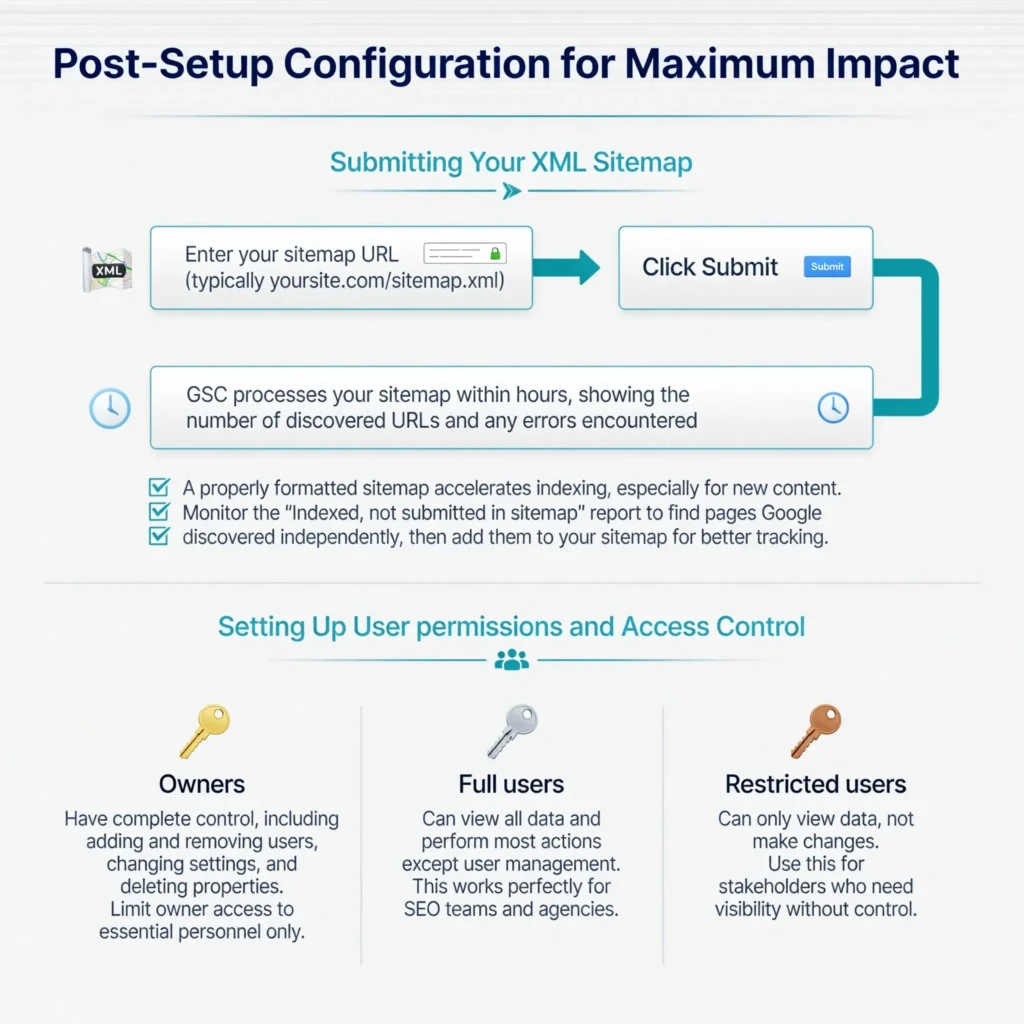
Submitting Your XML Sitemap
An XML sitemap provides Google’s crawlers with a clear map of your website’s pages. After verification, immediately submit your sitemap through the Sitemaps report. Enter your sitemap URL (typically yoursite.com/sitemap.xml) and click Submit.
GSC processes your sitemap within hours, showing the number of discovered URLs and any errors encountered. A properly formatted sitemap accelerates indexing, especially for new content. Monitor the “Indexed, not submitted in sitemap” report to find pages Google discovered independently, then add them to your sitemap for better tracking.
Setting Up User Permissions and Access Control
Managing team access prevents security risks while enabling collaboration. GSC offers three permission levels:
Owners have complete control, including adding and removing users, changing settings, and deleting properties. Limit owner access to essential personnel only.
Full users can view all data and perform most actions except user management. This works perfectly for SEO teams and agencies.
Restricted users can only view data, not make changes. Use this for stakeholders who need visibility without control.
How Core Web Vitals and CTR Impact Your Rankings
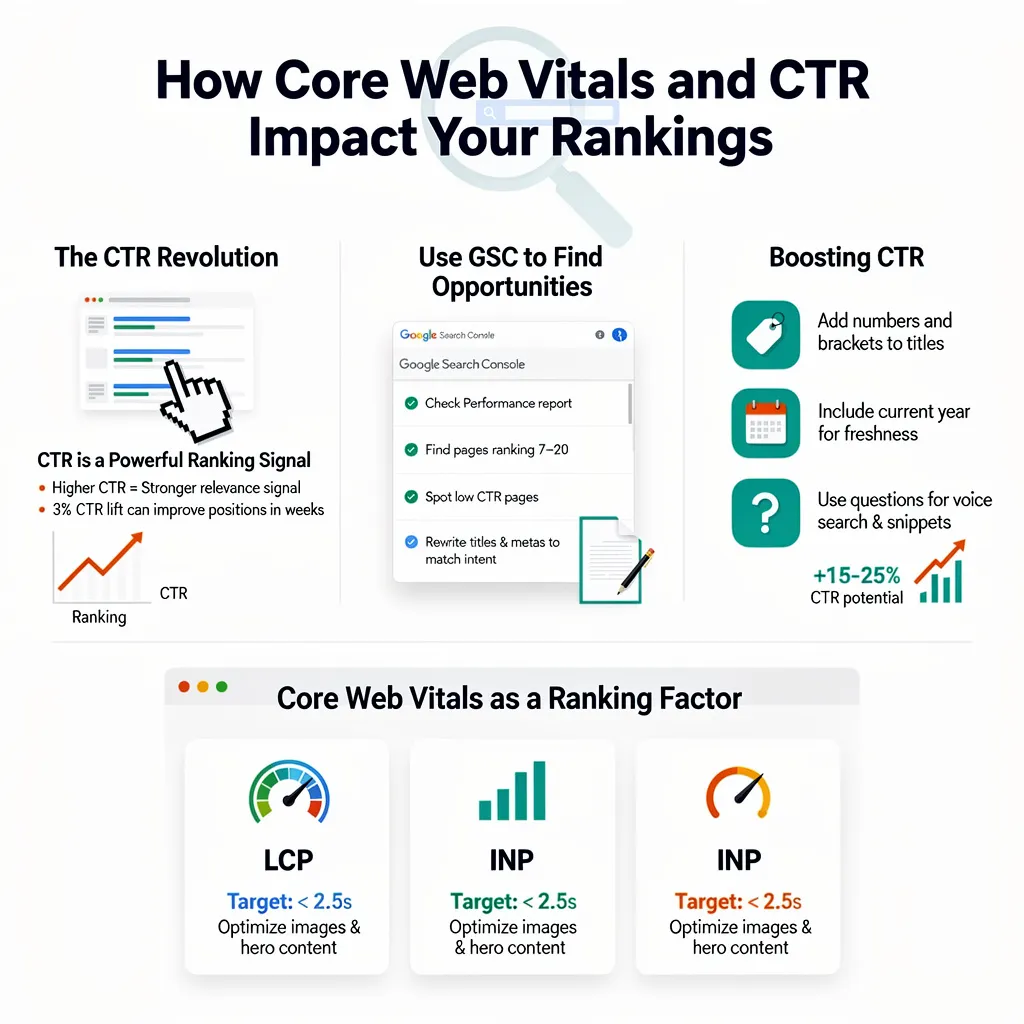
The CTR Revolution
Click-through rate has evolved from a minor factor to a significant ranking signal. Google’s machine learning algorithms now recognize that users who click your result over competitors’ indicate superior relevance. Sites improving their CTR by just 3% often see position improvements within weeks.
Your GSC Performance report reveals exact CTR data for every query and page. Focus on pages ranking 7-20 with below-average CTRs. These represent your biggest opportunities. Rewrite their titles and meta descriptions to match search intent better, and watch your traffic soar without any link building.
Testing shows that adding numbers, brackets, and the current year to titles can boost CTR by 15-25%. Questions in titles particularly resonate with voice search and featured snippet algorithms.
Core Web Vitals as a Ranking Factor
Core Web Vitals transitioned from experimental metrics to confirmed ranking factors. The three metrics (Largest Contentful Paint, First Input Delay/Interaction to Next Paint, and Cumulative Layout Shift) directly influence rankings, particularly in competitive niches where they serve as tie-breakers.
Your Core Web Vitals report in GSC shows real user data, not lab simulations. Pages marked as “Poor” face ranking suppressions, while “Good” pages receive slight boosts. The impact intensifies in competitive searches where Google has multiple relevant results to choose from.
Achieving “Good” status across all metrics requires LCP under 2.5 seconds, INP under 200 milliseconds, and CLS below 0.1. Focus on image optimization, JavaScript execution, and layout stability to hit these thresholds.
Leveraging GSC for International Success
For businesses targeting multiple countries, GSC becomes even more critical. The platform validates your hreflang tags, ensuring Google serves the correct language version to each audience. This prevents duplicate content penalties while improving user experience across regions.
Companies expanding globally should consider working with specialists who understand these complexities. Professional INTERNATIONAL SEO services can configure your GSC properties to capture accurate data from each target market, ensuring your global expansion succeeds.
The International Targeting report (for URL-prefix properties) helps you set geographic targets, though Google increasingly relies on other signals like content language, local backlinks, and server location.
Common Setup Mistakes and How to Fix Them
The most frequent verification failure occurs when users remove their DNS TXT record after initial verification, thinking it’s no longer needed. This breaks verification within days. Keep all verification methods in place permanently.
Another critical error involves creating multiple property variations without linking them in Google Search Console. If you’ve set up separate properties for www and non-www versions, ensure your canonical tags point consistently to prevent data fragmentation.
Users often forget that changing domain registrars requires re-adding DNS verification records at the new provider. Plan for this during migrations to maintain uninterrupted access to your search data.
Your Next Steps After GSC Setup
Setting up Google Search Console correctly is just the start of your SEO work. Not the finish. Send your sitemap right away. Check for mobile usability issues. Look at your Core Web Vitals report.
In your first week, study your Performance report. Find easy fixes by improving titles and meta descriptions. Turn on email alerts for coverage issues and security problems. Start watching your average position and CTR trends. This shows your SEO progress clearly.
If you run a business and care about search visibility, get help from pros. It significantly speeds up your success. SEO Services.com.BD has over 10 years of experience. We make GSC work best. We help small local shops and big sites around the world. Their setup grabs all key data. It skips common mistakes that slow you down.
Whether this is your first website or a big company site, a good Google Search Console setup drives steady search traffic. Act now. Use these steps. See your search results change from guesses to real data wins. Stands strong for years to come, our team of experts is here to design the blueprint.
FAQ
What is the easiest way to verify my website ownership?
The “HTML Tag” method is generally considered the easiest for beginners, especially if you use a Content Management System (CMS) like WordPress, Wix, or Shopify.
WordPress Users: Plugins like Yoast SEO or RankMath have specific fields where you can paste only the verification code (the alphanumeric part) without editing your theme’s code files directly.
Why does my verification keep failing with “Ownership verification failed”?
This is a common frustration discussed on forums. The most frequent causes are:
Removing the Code: You must leave the tag or file on your site even after verification succeeds. If you remove it, Google will unverify you 1.
Caching Plugins: If you use caching (like WP Rocket or LiteSpeed), Google might see an older version of your site that doesn’t yet have the tag. Clear your cache and try again.
Wrong File Location: If you chose the “HTML File Upload” method, the file must be in your root directory (e.g., yourdomain.com/google123.html). If it’s in a subfolder, it won’t work.
Should I choose “Domain” or “URL Prefix” property type?
Experts recommend the Domain property because it tracks traffic for your entire site, including all subdomains (m.example.com, blog.example.com) and both protocols (http and https).
The Catch: Domain verification requires DNS changes, which can be technical.
The Alternative: If you can’t access DNS settings, “URL Prefix” is easier to set up, but only tracks the exact address you enter (e.g., only https://www.example.com).
My sitemap says “Couldn’t Fetch” – how do I fix this?
This is one of the most searched errors. Often, it is actually a “false positive” or a temporary bug where the status shows “Couldn’t fetch,” but changes to “Success” after a few days. Troubleshooting steps:
- Check the URL: Ensure you didn’t accidentally submit
yoursite.com/sitemap.xml/sitemap.xml. - Test Live URL: Use the “URL Inspection” tool on your sitemap URL to see if Googlebot can actually access it.
- Resubmit: If it persists, delete the sitemap from GSC and resubmit itagain .
How do I verify a Shopify store on Google Search Console?
Shopify owners often ask if they need a plugin. You don’t.
- Method: Go to your Shopify admin, click Online Store > Themes > Edit code. Paste the Google HTML verification tag into the
theme.liquidfile, just below the<head>tag. - Note: Many custom Shopify themes now have a dedicated “Google verification” box in the theme settings to avoid touching code.
How do I connect GSC to my Squarespace or Wix site?
Both platforms have built-in integrations that simplify this:
- Squarespace: Go to Analytics > Search Keywords. Connect your Google account there, and it will automatically verify your site with GSC.
- Wix: Go to Marketing & SEO > SEO > Site Verification. Click “Google Search Console,” then paste your HTML tag to connect instantly.
Integration & User Management FAQs
To view organic search queries directly in your Analytics dashboard, you must link the two tools.
- Open your GA4 Admin panel and scroll to Product Links > Search Console Links.
- Click “Link” and select your GSC property.
- Important: You must be a “Verified Owner” of the GSC property and have “Editor” permissions in GA4 for this to work.
Can I add another user (like an SEO agency) to my account?
Yes, and you shouldn’t share your personal password.
- How to: Go to Settings > Users and permissions > Add User.
- Permission Levels: Enter their email address, then choose “Full” (can view and modify data) or “Restricted” (can view data only).
Is it normal for my data to be empty after setup?
Yes. A frequent “panic” question from new users is why their dashboard is blank. GSC only begins collecting data after you set it up. It typically takes 48 hours for the first batch of data to appear.
What is Google Search Console and why should I set it up?
Google Search Console (GSC) is a free tool from Google that shows how your site appears in Google Search. Once you set it up and verify ownership, you can see which queries bring traffic, which pages get impressions and clicks, indexing issues, mobile problems, and more. Even basic setup gives you early warnings when something breaks and clear data to improve SEO.
Is Google Search Console free, and do I still need it if I already use Google Analytics?
Yes, GSC is completely free. It does a different job than Google Analytics.
- Search Console tells you how Google sees and serves your site in search (queries, impressions, positions, indexing).
- Analytics shows what visitors do after they arrive (engagement, conversions, revenue).
For SEO and troubleshooting, you really want both working together.
What is the difference between “Domain” and “URL prefix” properties in Search Console?
When you add a site to GSC, you can choose:
- Domain property – covers the entire domain (all subdomains and both http/https), for example
example.com,www.example.com,blog.example.com. It uses DNS (TXT record) for verification. - URL prefix property – covers only the exact URL pattern you enter, for example
https://www.example.com/. It can be verified with HTML files, meta tags, GA, GTM, etc.
Domain properties give the most complete view, but they require DNS access. URL prefix properties are easier to set up when you do not control DNS.
How do I set up Google Search Console for a brand‑new site?
The basic setup process looks like this:
- Visit https://search.google.com/search-console and log in with your Google account.
- Click “Add property” and choose either Domain or URL prefix.
- Complete one of the verification methods (DNS record, HTML file, meta tag, GA, or GTM).
- Once verified, submit your sitemap and wait for Google to start collecting data.
After a day or two, you will begin to see impressions, and over time, you can use the reports to improve indexing and performance.
What verification methods can I use when setting up Google Search Console?
Google offers several ways to prove you own a site:
- DNS TXT record (for Domain properties)
- HTML file upload to your site’s root folder
- HTML meta tag added to the
<head>of your homepage - Google Analytics tag if GA is already installed with the same account
- Google Tag Manager container if GTM runs on your site
You only need one method to work, but many site owners keep more than one in place so they do not lose verification when they change hosting or themes.
Which verification method is best if I am not very technical?
If you do not have DNS access or a developer, the HTML tag or Google Analytics methods are usually easiest:
HTML tag: copy a meta tag from Search Console and paste it into your site’s <head> section (many CMSs and SEO plugins have a simple field for this).
Google Analytics: If GA is already set up with the same Google account, you can often click to verify without touching any code.
If you are comfortable asking your domain registrar or hosting provider for help, DNS TXT verification is more future‑proof because it survives site rebuilds and theme changes.
How do I add and submit a sitemap during Google Search Console setup?
After your property is verified:
- Create or locate your sitemap, often at
/sitemap.xmlor/sitemap_index.xml(Many CMSs and SEO plugins generate this automatically.) - In Search Console, open your property and go to Indexing → Sitemaps.
- Enter the sitemap URL path (for example,
sitemap.xml) and click Submit.
Google will fetch the file, show its status, and use it as a guide to discover and crawl your pages.
How long does it take for data to appear in Google Search Console after setup?
Once you have verified your property, Search Console starts collecting data almost right away, but you usually see reports fill in over the next 24–72 hours. For brand‑new domains with no search impressions yet, it can take longer.
Remember that GSC does not show real‑time numbers, and most reports are delayed by a day or two.
Can Google Search Console show data from before I set it up?
In most cases, Search Console starts collecting data from the moment a property is created and verified. It does not usually backfill full historical data if the site was never in Search Console before.
However, if someone else had already added the same site under another account in the past, some historical data might appear when you create your own property. That is why different people sometimes report different experiences.
Should I set up multiple properties for www, non‑www, and subdomains?
Best practice today is:
- Create one Domain property for
example.comSo you see data for all subdomains and protocols in one place. - Optionally, add URL prefix properties for specific sections like
https://www.example.com/orhttps://blog.example.com/if you want more granular views.
You should not worry about “duplicate” properties, because Search Console treats each property as a different lens on the same site, not as duplicate content in search.
Can I set up Google Search Console on a staging or test site?
Yes, you can technically verify and track a staging domain or subdomain in Search Console, as long as Google can access it. In practice, it only makes sense if:
- The staging URL is publicly accessible for a while, and
- You want to monitor how Google crawls it before you go live or run tests.
If your staging environment is blocked by passwords or robots.txt, Search Console will not show much, and it will not help your main production site’s SEO.
How do I give my agency or developer access to Google Search Console without sharing my Google login?
You can add users directly inside Search Console:
- Open your property in GSC.
- Go to Settings → Users and permissions.
- Click Add user, enter their Google account email, and choose a permission level (Full or Restricted).
They will then see your property in their own Search Console account. You can change or remove their access at any time.
Why does Search Console still say my pages are not indexed after I set everything up?
Setting up and verifying Search Console does not force Google to index every page. It only gives you visibility and tools. Common reasons pages remain unindexed include:
- Weak or duplicate content
- Crawl blocks (robots.txt, noindex tags, login walls)
- Redirect chains or canonical tags pointing elsewhere
- Very new domains or low authority sites that need time and links
Use the URL Inspection tool in Search Console on a specific page to see the exact reason and request indexing once you have fixed the underlying issue.